Classifications
Classifications allow an administrator to manage carton production based on predefined priorities. Typically, classifications are used to make sure that cartons are produced in a sequence that aligns with the product shipping schedule.
Classifications can be in the following states:
Expedite: These packages have a higher priority than any other classification.
Normal: These packages have a normal priority and will be produced after Expedited cartons, but before Last cartons.
Last: These packages have the lowest priority and will be produced after all Expedite and Normal cartons.
Stop: These packages will not be produced while in the stop state.
Although not all customers need or use classifications, they can be very helpful in managing carton production to make sure that cartons for products that ship first are created first, cartons for products that ship second are created second, and so on.
Add a Classification
On the Classifications page, select New.
Name the classification. This should correspond with the shipping method these orders will be using.
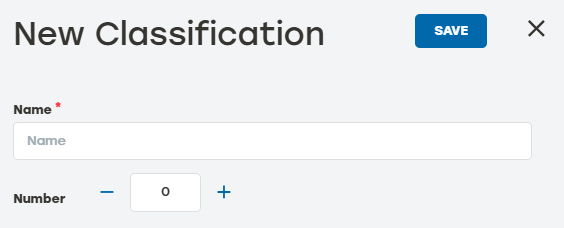
Enter the classification number. This should correspond to the order of this shipping method. In other words, the first shipping method of the day should be number 1, the second should be number 2, and so on.
Select Save when done.
Classifications History
Go to the Classifications page.
Select the history icon
 to the right of the desired classification to review the data.
Date: The date the entry happened
Type: The type of item listed in the entry.
Activity: A brief description of the action
User: The PackNet user who completed the action
Select the arrow icon
 for a detailed view of the activity.
Select anywhere outside the Classification History dialog to return to the Classifications page.
Edit a Classification
Go to the Classification page.
Select the edit icon
 to the right of the classification that needs to be edited.
Make changes as needed.
Select Save.
Delete a Classification
Go to the Classifications page.
Select the delete icon
 to the right of the classification that needs to be deleted.
A dialog will appear asking to confirm deletion. Select Yes.
Make sure that the deleted classification is no longer shown on the main Classifications page.