Print Campaigns
Note
This feature is only available on X5 Nozomi machines.
X5 Nozomi machines have the ability to run print campaigns that will print images on cartons with dimensions matching those entered in the campaign.
Add a Print Campaign
On the Materials page, select Print Campaign.
Select Add New.
Select Upload Files.
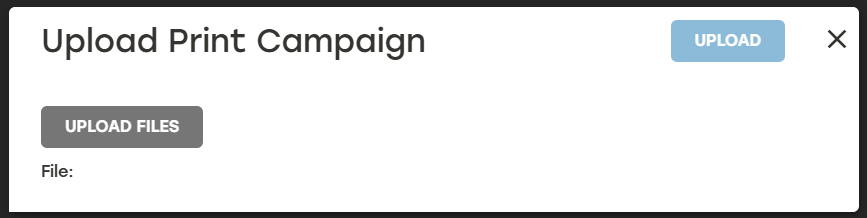
Upload the CSV file containing the print campaign information.
Campaign Name: This should be something that clearly identifies what campaign this is
Start Date: The date the print campaign will begin running when activated
End Date: The date the print campaign will stop when activated
Status: Indicates whether the campaign is active or deactivated
Campaign Details: Establishes the file being used in the campaign, the carton dimensions, and the quantity to be produced for this campaign
Select Activate to enable the print campaign.
Deactivate Print Campaigns
On the Materials page, select Print Campaigns.
Select Deactivate to the right of the print campaign that needs to be deactivated, or select Deactivate All to deactivate all print campaigns.
The print campaigns status will change to Deactivated.
No print campaign images will be created even when a carton matching the print campaign dimensions is produced.
Delete Print Campaigns
On the Materials page, select Print Campaigns.
Select the delete icon
 to the right of the print campaign that needs to be deleted.
A dialog will appear asking to confirm deletion. Select Yes.
Make sure that the deleted print campaign no longer appears on the Print Campaigns page.