Scan to Produce
Scan to Produce is where setup from the previous sections comes into use. It can be used by scanning the unique identifier, manually inputting items, with a Leica DISTO device, or with Cubiscan.
 |
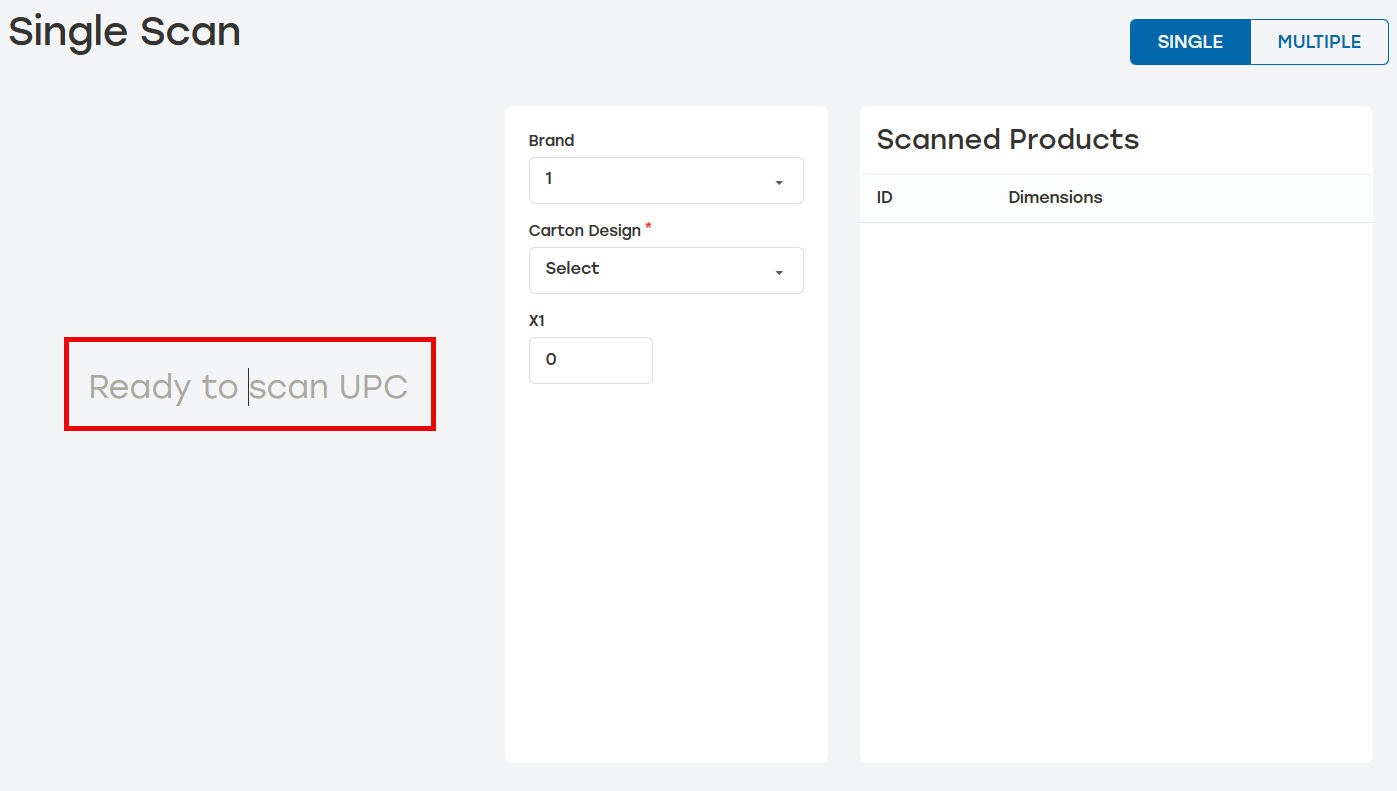
Before scanning items, select Single when there will be one item per box, or select Multiple when there will be multiple items in one box. In Multiple Scan, the quantity of items can be changed by selecting the plus or minus symbols, or by scanning multiple of the same item. Once an item is scanned, switching between Single and Multiple will erase anything that's been scanned so far.
Scanning Unique Identifier
Connect the barcode scanner by plugging in to an available USB port on the system running PackNet.
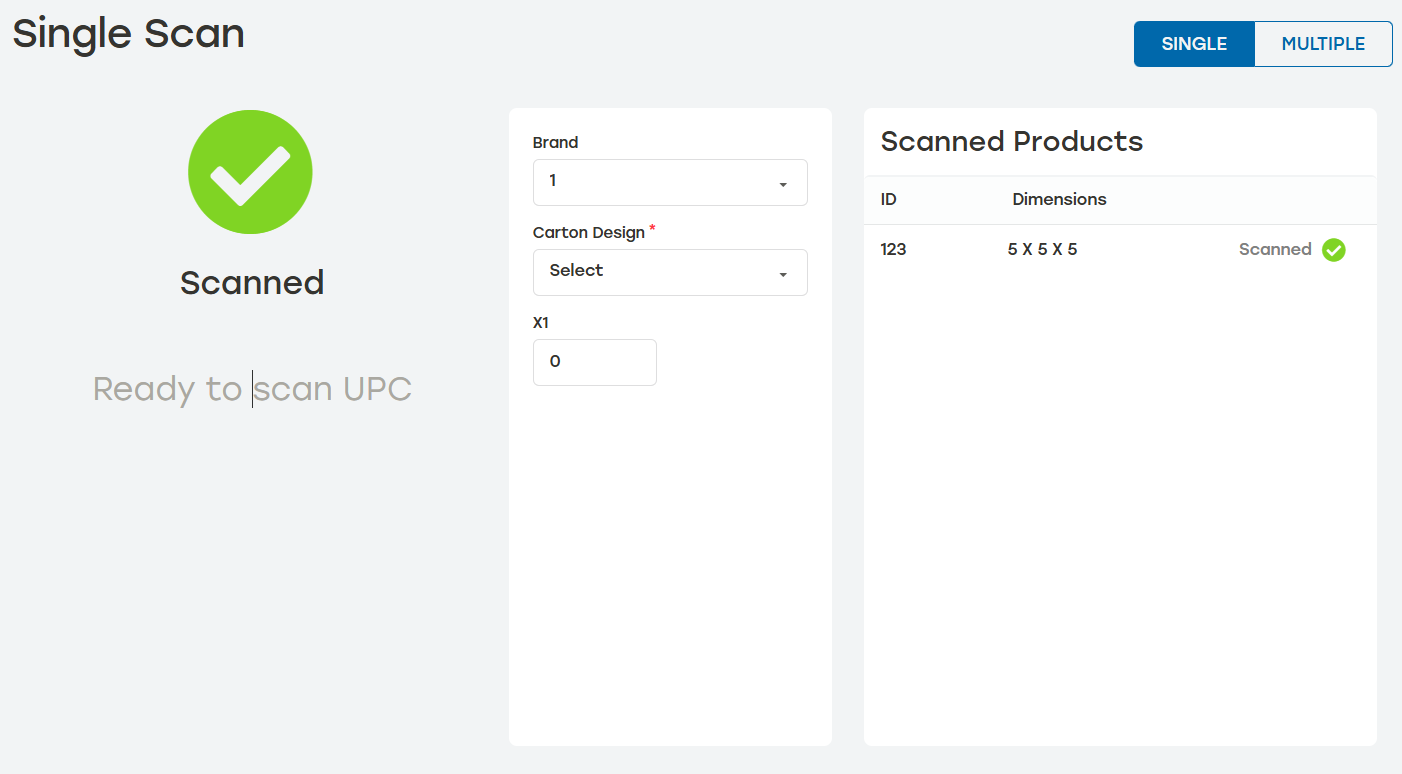
When the unique identifier is scanned, the product will automatically appear under Scanned Products.
For single scan, the job will automatically go to production. For multiple scan, select Send when all products are scanned to send the job to production.
Manual Input
Click on the text Ready to Scan. The cursor should appear in the middle of the phrase.
Type in the ID of the product. Press enter on the keyboard and it should appear under Scanned Products.
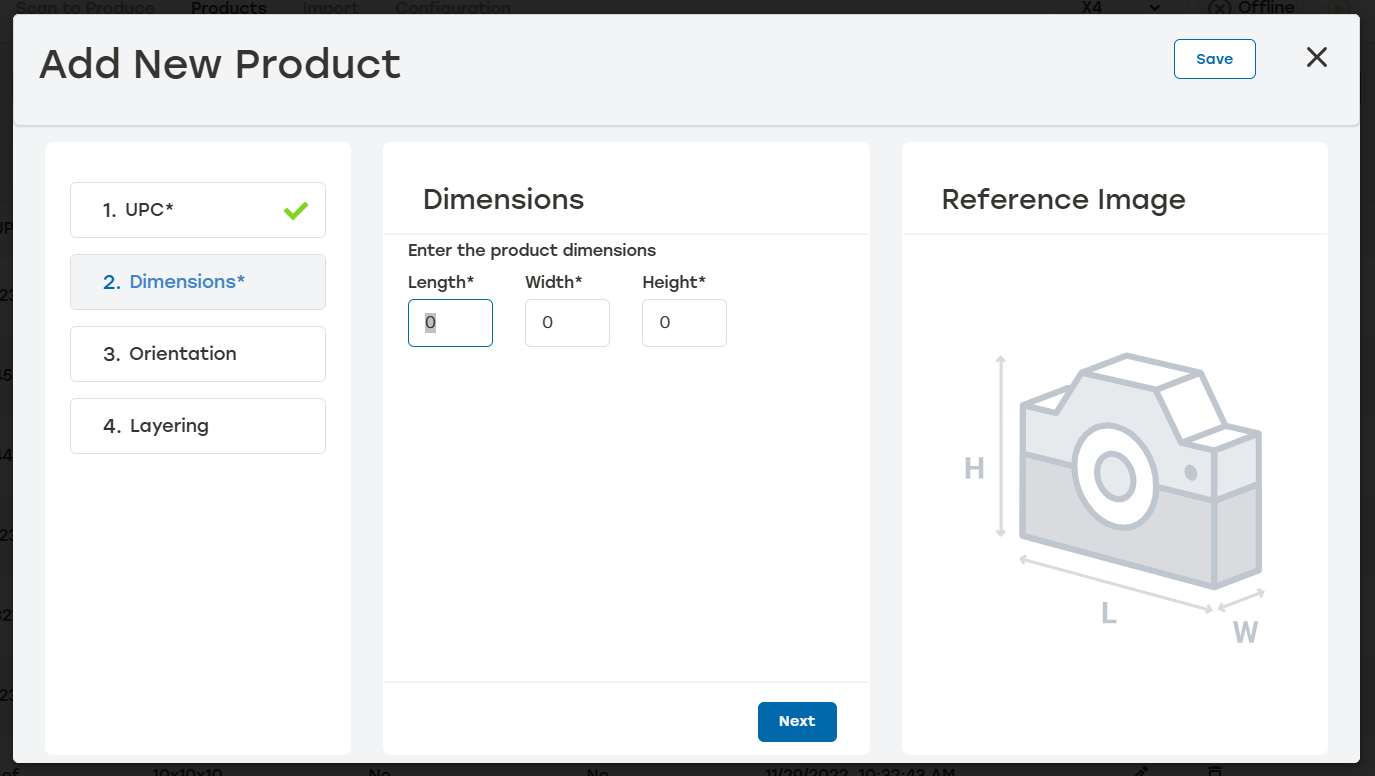
When the product does not yet exist, the Add New Product dialog will appear. Enter the relevant product details and select Save. The product now exists in the product list and will not have to be added again.
For single scan, the job will automatically go to production. For multiple scan, select Send when all products are entered to send the job to production.
DISTO Device
Item dimensions can be scanned using a Leica DISTO device. Because the dimensions are already calculated outside of DIM, Scan to Produce is just the apparatus to get the box to production.
Pair the DISTO using Bluetooth.
Hold down the cubing button on the DISTO to cycle through the output formats. in. decimal or mm are acceptable formats. These values should match the unit of measure set for the tenant.
Take the first measurement using the DISTO device. This will open the Disto Input dialog.
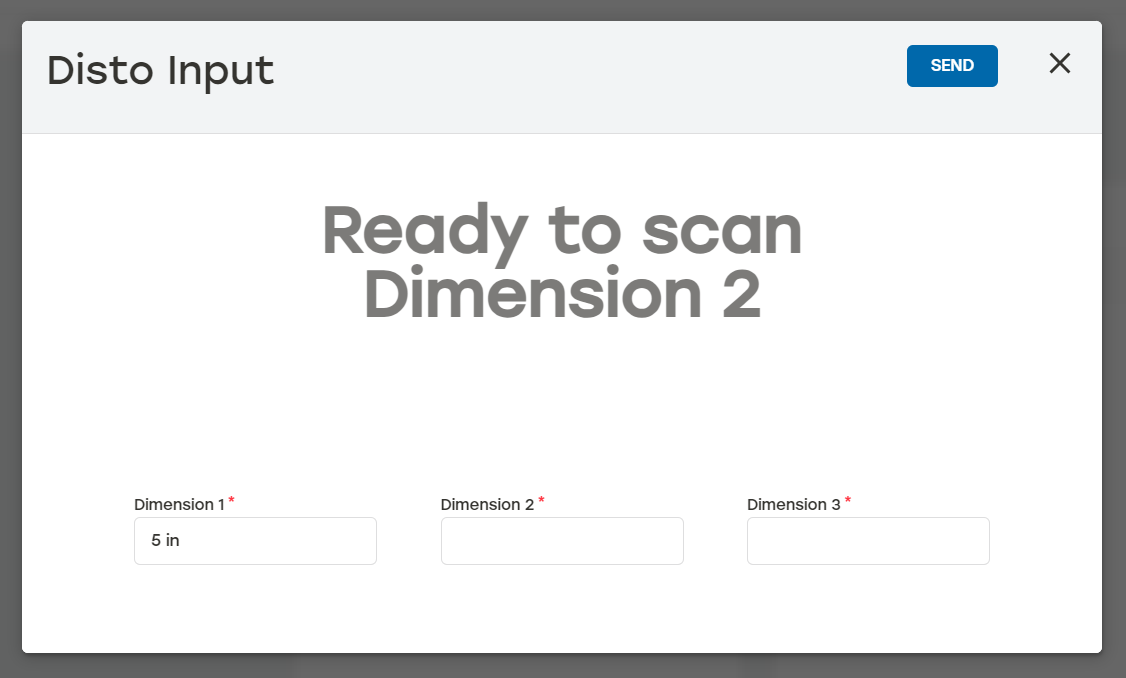
Take the measurements with the DISTO.
Select Send to send the job to production.
DISTO Offset
DISTO units are often paired with a mounting bracket that changes the distance measured from the front or back of the DISTO unit. The Disto Offset value helps to account for that difference to make sure proper measurements are sent to PackNet for carton production. When scanning products with the DISTO device and using an offset value, the full distance of the laser scan will briefly show on the Disto Input dialog. PackNet DIM then applies the offset value and the actual product dimension will then be displayed. For information on changing the Disto Offset see Settings.