Configuring Internal Managed Secure Print
Internal Managed Secure Print can be set up in two different ways: templates defined in PackNet or customer-provided ZPL.
Important
All print variables must be added as headers in Import Pipeline and marked as secure variables to be used in Internal Managed Secure Print. These secured headers become the input keys sent in Secure Print.
Templates Defined in PackNet
Create a label template and define print variables in Configuration > Materials > Label Templates (see Label Templates).
Go to Import Pipeline > Mapping.
Mark the desired headers as secure.
Go to Rules.
Create a rule and select one of the following rule actions:
Add Label to Carton
Add Standalone Label
Add Carton, and then select +Label
From the Label Template dropdown, choose the template created in step 1.
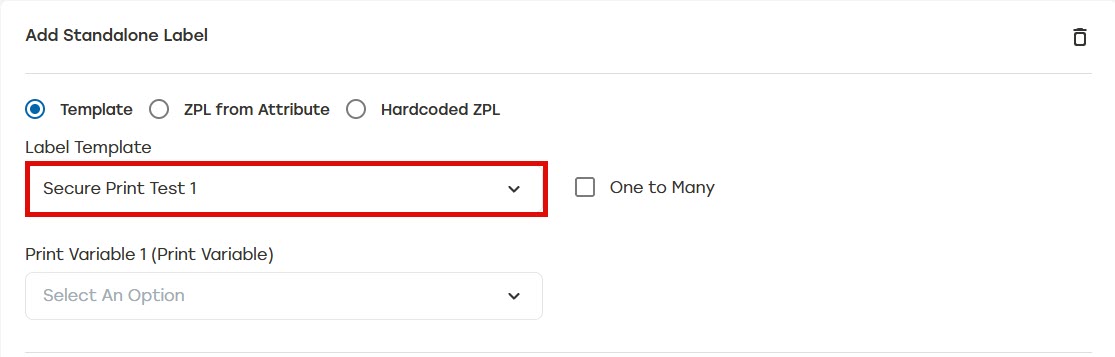
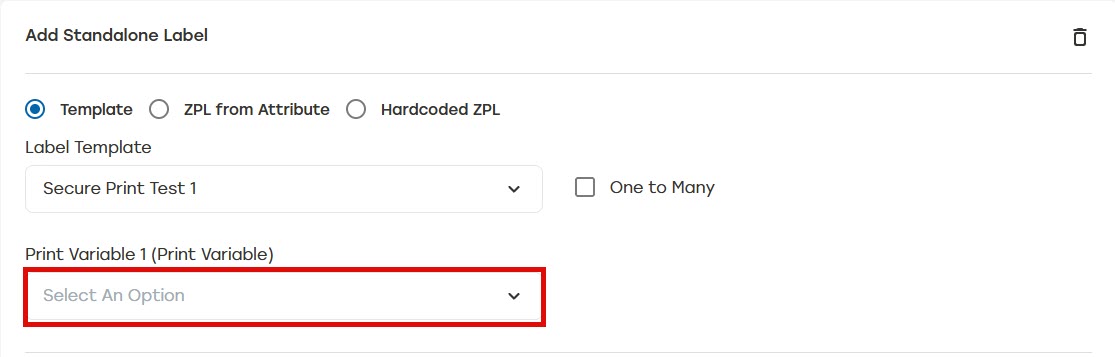
Select the print variables defined in step 1 to map the print variables to the headers.
Select Save.
Customer-Provided ZPL
Go to Import Pipeline > Rules.
Create a rule and select one of the following rule actions:
Add Label to Carton
Add Standalone Label
Add Carton, and then select +Label
From the Label Template dropdown, select Internal Packsize Managed Secure Print.
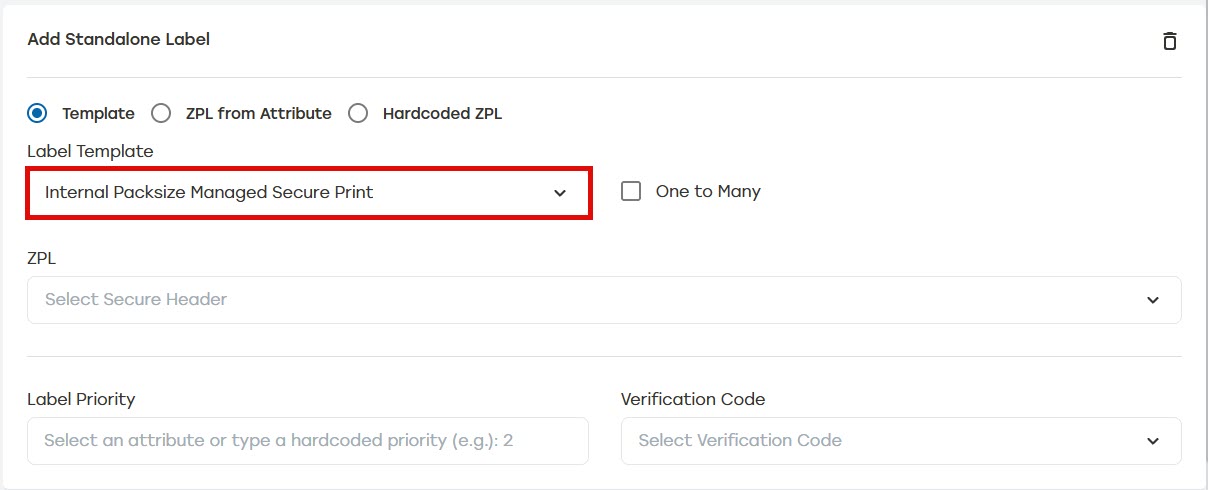
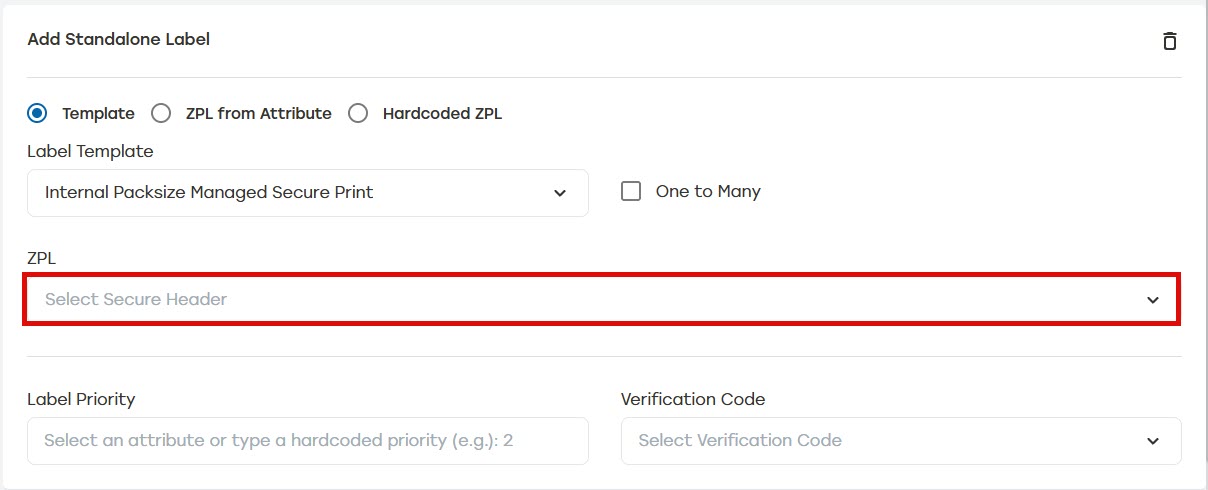
From the ZPL dropdown, choose the header with ZPL data.
Note
The ZPL field only displays secure headers. When the ZPL field is not visible or the desired headers are not listed, make sure the headers have been marked secure on the Mapping page.
Select Save.