Configuring Secure Print
The Secure Print page is where users can enable the desired Secure Print type: Internal Packsize Managed Secure print, External Packsize Managed Secure Print, or Customer Managed Secure Print.
The External Packsize Managed Secure Print and Customer Managed Secure Print options require integration with a customer owned API.
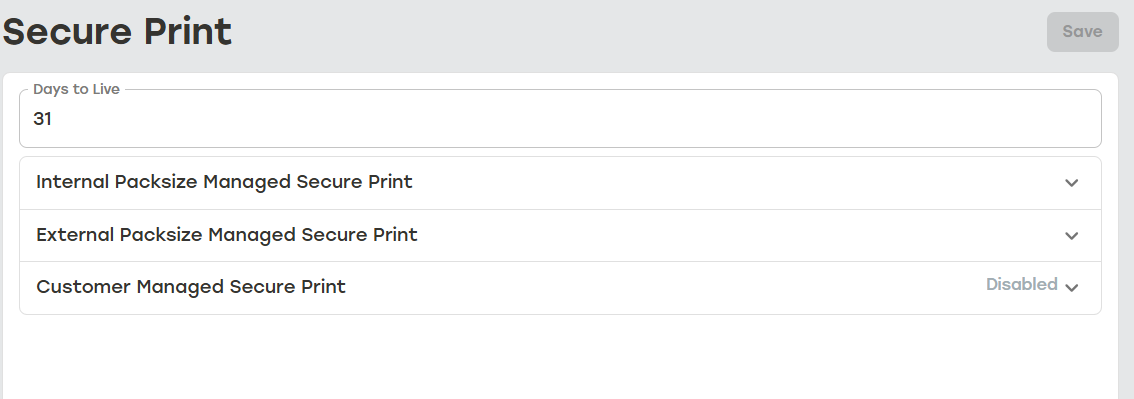 |
This page is also where users establish Days to Live. This value determines how long the data is stored in PackNet. Jobs that use Secure Print will only be reproducible during the Days to Live window.
Secure Print is enabled at the label level via the template selected in import rule actions. These import rule actions will need to be created before Secure Print will work. The following sections detail how to create the import rule actions needed for Secure Print.
Important
The ZPL should not include printer commands as this will override the printer settings for all labels sent after the command is processed.
Configuring Import Rule for Secure Print
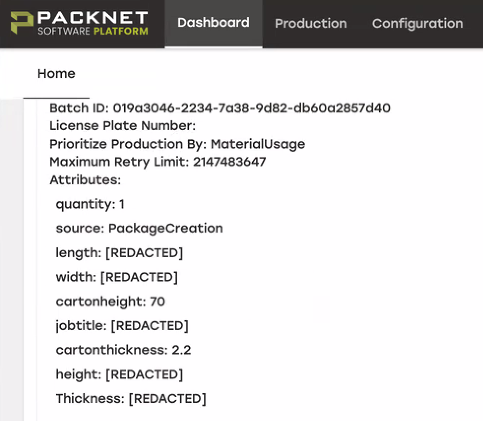
Import headers for Secure Print actions can be marked as secure. Marking a header as secure, even when not used in a label, makes sure the header is marked [REDACTED] from audit logging.
 |
Marking a Header as Secure
Go to Configuration > Import Pipeline.
Select Mapping.
Find the header to be made secure.
Select the lock icon to the right of the header.
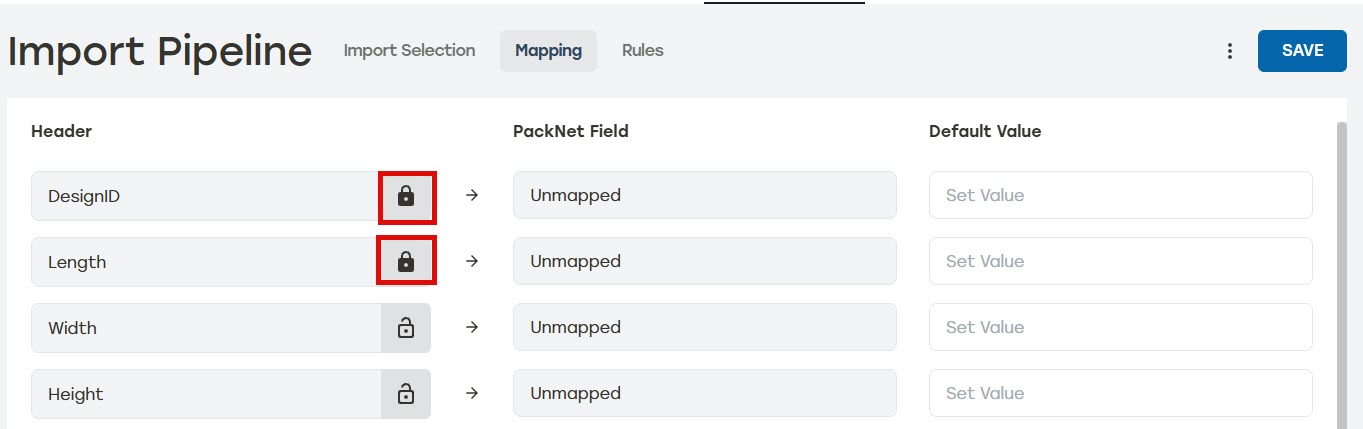
Select Save.
Secure Print Rule Actions Overview
There are three import rule actions that may be used for Secure Print.
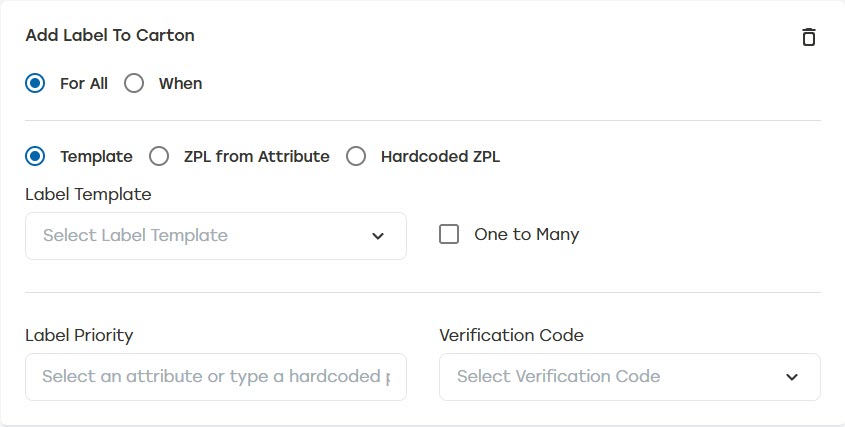
Add Label to Carton: This action creates a label with Secure Print and applies that label to a carton that's created at the same time.
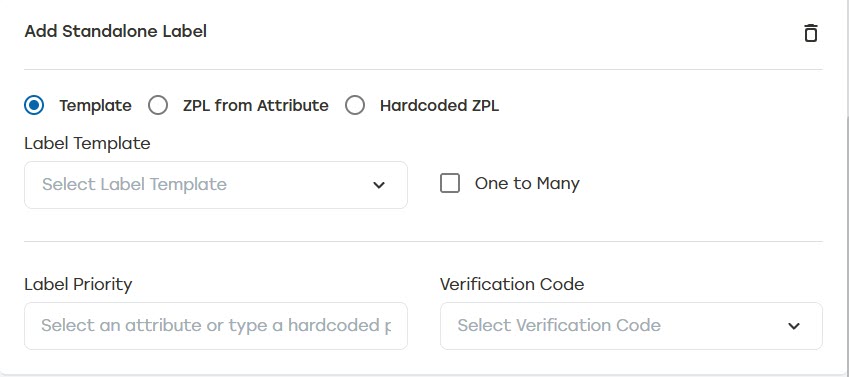
Add Standalone Label: This action creates a standalone label with Secure Print.
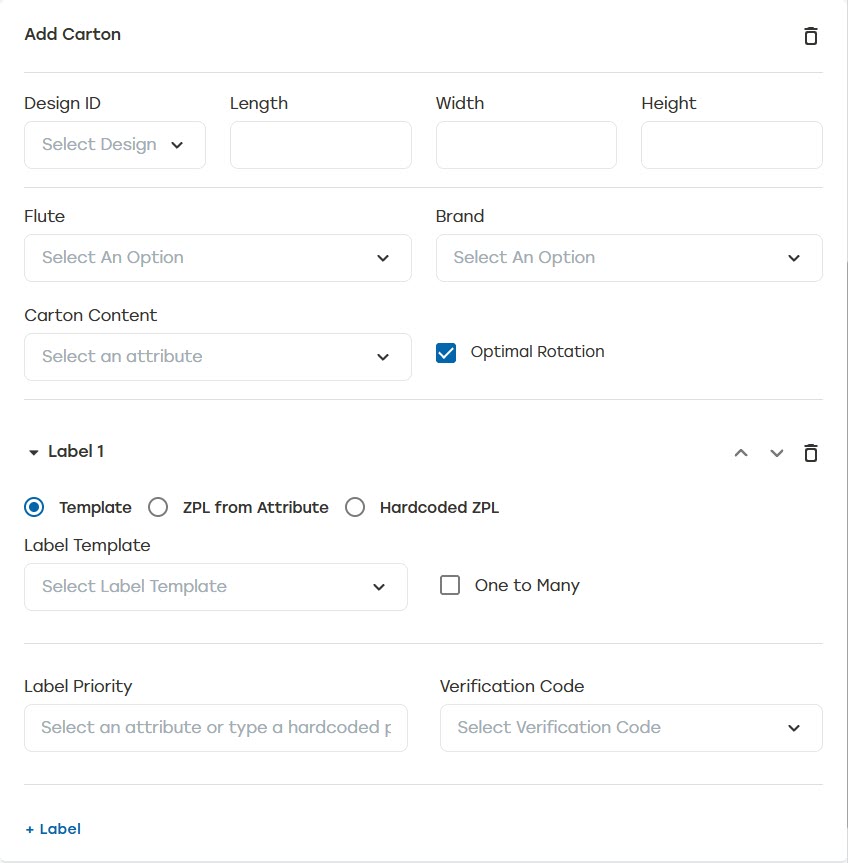
Add Carton: This action will create a carton that has label information attached to the carton. The label information will be created with Secure Print. When using this option, +Label will need to be selected after creating the Add Carton rule.